I’m excited to share that I’m building a mini web app for inventory management. One thing is crucial—do you know what it is? Ugh, product images.
You might ask, “How am I saving the images?” Yes, I thought about that as well.
Here it is:
I’m processing the image files alongside other form inputs using Multer, a middleware for handling image files. For the images to be processed correctly, the enctype attribute needs to be set, which allows Multer to process the files.
Below is the breakdown of my code, keeping modularity in mind. My Express server is already up and running on port 3000.
Here’s the HTML form (item_form.ejs), styled with Bootstrap@5.3.3:
<div class="content">
    <form method="POST" enctype="multipart/form-data">
        <div class="mb-3">
            <label for="name" class="form-label text-primary">Product Name:</label>
            <input type="text" class="form-control text-capitalize" id="name" name="name"/>
        </div>

        <div class="mb-3">
            <label for="description" class="form-label text-primary">Description:</label>
            <textarea class="form-control text-capitalize" id="description" rows="3" name="description"></textarea>
        </div>

        <div class="mb-3">
            <label for="category" class="form-label text-primary">Category:</label>
            <select class="form-select text-capitalize" name="category" id="category">
                <option value="">Select product category...</option>
                <% if (category) { %>
                    <% category.forEach((cat) => { %>
                        <% const product_name = cat.name.split(" ").map(el => el.charAt(0).toUpperCase() + el.slice(1)).join(" "); %>
                        <option value="<%= cat._id %>" <%= cat.selected ? 'selected' : '' %>><%= product_name %></option>
                    <% }) %>
                <% } %>
            </select>
        </div>

        <div class="row">
            <div class="col">
                <label for="price" class="form-label text-primary">Price:</label>
                <input type="number" class="form-control" id="price" min="1" name="price"/>
            </div>
            <div class="col">
                <label for="number_in_stock" class="form-label text-primary">No. in Stock:</label>
                <input type="number" class="form-control" id="number_in_stock" min="0" name="number_in_stock"/>
            </div>
        </div>

        <div class="mb-3">
            <label for="avatar" class="form-label text-primary">Category Image:</label>
            <input type="file" accept="image/*" class="form-control" id="avatar" name="avatar"/>
        </div>

        <button class="btn btn-primary btn-large">Add Product</button>
    </form>
</div>
Note: Did you happen to notice anything about the category field? Ughh!
Yes, we are getting the available categories directly from the database, which in this project is MongoDB. This way, you only select from the available categories.
Below is the output of the HTML form above:
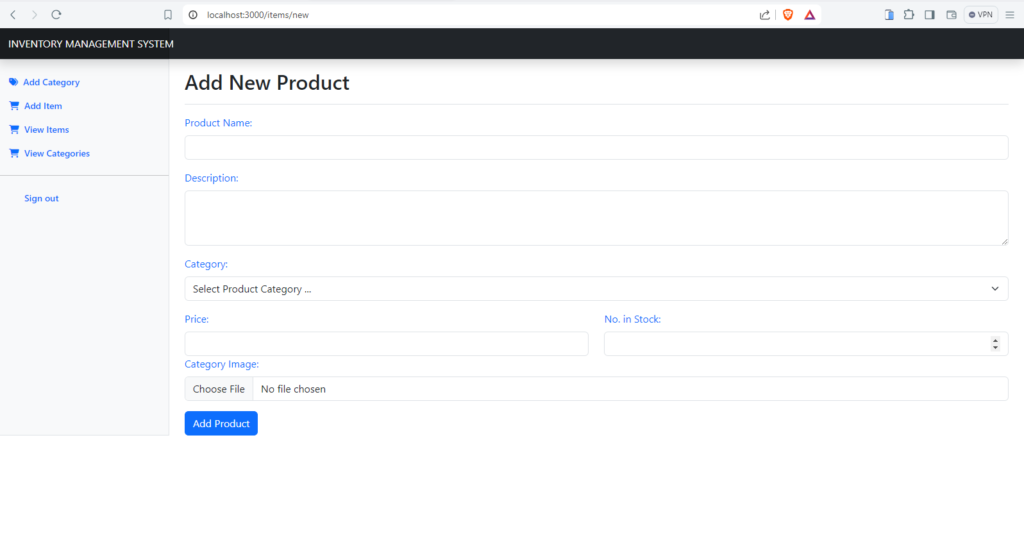
With the form set up, we can now move on to processing the images and other inputs using Multer.
Server-Side Processing with Multer
To handle the image upload and form data processing, we need to configure Multer in our Express app.
Here’s a step-by-step guide
Install Required Packages:
npm install multer express-validator mongoose cloudinarySet Up Cloudinary
To start using Cloudinary for storing our image files, you’ll need to create an account with Cloudinary. This will give you access to the Cloudinary setup credentials for your project.
I already have an account, so feel free to check Cloudinary out as it is a great place to securely store your image files.
In our index.js file, we import Cloudinary and set up the configuration by adding the snippet below to your existing code:
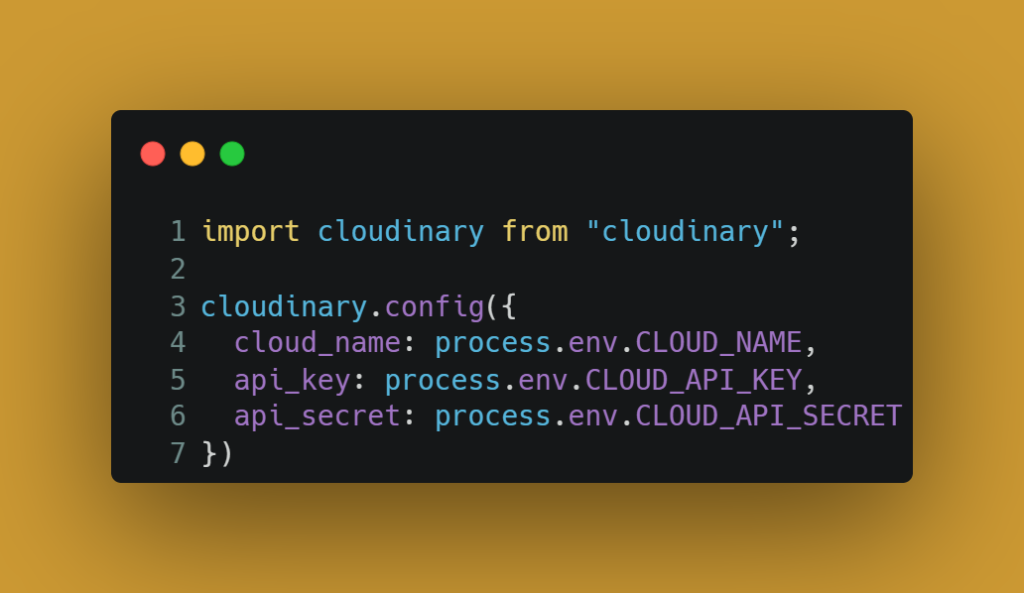
Note: After signing up with Cloudinary, you will have access to your cloud name, API key, and API secret key.
Here, I’ve saved my credentials in environment variables, which is a best practice for security reasons.
Now that we have Cloudinary set up, let’s move on to configuring Multer for handling file uploads.
Setting Up Multer
Multer is a Node.js middleware for handling multipart/form-data, which is primarily used for uploading files. In our case, it’s perfect for handling product images.
Here’s how we can set it up:
Configure Multer Storage and File Filter
We’ve created a multerMiddleware.js file to handle our Multer configuration.
Let’s dive into the code and understand each part:
import multer from "multer";
import path from "path";

// Configure disk storage for uploaded files
const storage = multer.diskStorage({
    destination: (req, file, cb) => {
        cb(null, 'public/uploads'); // Specify the destination folder for storing files
    },
    filename: (req, file, cb) => {
        // Generate a unique filename using current timestamp and a random number
        const uniqueSuffix = Date.now() + '-' + Math.round(Math.random() * 1E9);
        cb(null, uniqueSuffix + path.extname(file.originalname)); // Set the filename and extension
    }
});

// Configure multer upload settings
const upload = multer({
    storage, // Set the storage configuration defined above
    fileFilter: (req, file, cb) => {
        // Define which file types are allowed (JPEG, JPG, PNG)
        const allowedTypes = /jpeg|jpg|png/;
        const isMimeTypeValid = allowedTypes.test(file.mimetype); // Check if MIME type is valid
        const isExtNameValid = allowedTypes.test(path.extname(file.originalname).toLowerCase()); // Check if file extension is valid

        // If both MIME type and extension are valid, accept the file; otherwise, reject it
        if (isMimeTypeValid && isExtNameValid) {
            cb(null, true);
        } else {
            cb(new Error("Image upload failed or Invalid file type."), false);
        }
    },
    limits: { fileSize: 1024 * 1024 * 5 } // Set a file size limit of 5MB
});

// Middleware function to handle file uploads for a specified field name
const fileUpload = (field_name) => (req, res, next) => {
    upload.single(field_name)(req, res, function(err) {
        if (err instanceof multer.MulterError || err) {
            req.fileValidationError = err.message; // Handle multer errors
        } else if (!req.file) {
            req.fileValidationError = "Please upload an image file."; // Handle missing file error
        }
        next(); // Move to the next middleware or route handler
    });
};

export default fileUpload; // Export the file upload middleware for reuse
Breaking Down the Code
First, we import the necessary modules:
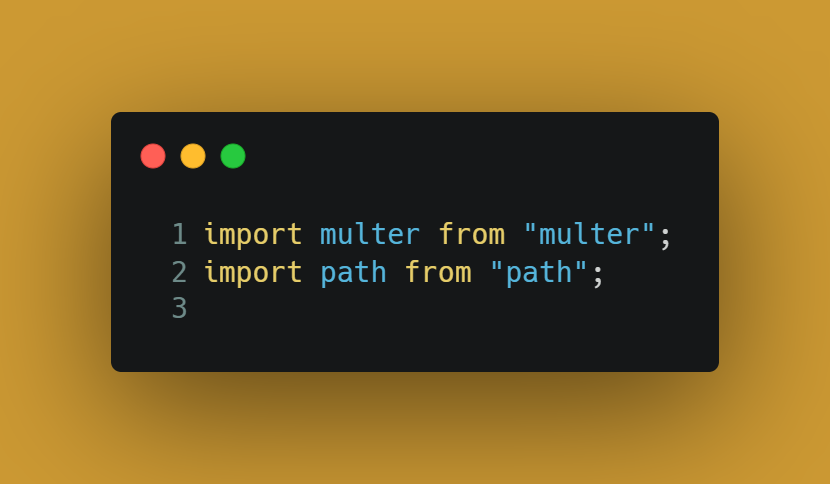
- multer: This is the main package we’re using for handling file uploads.
- path: This Node.js module helps us handle and transform file paths.
Configuring Storage
Next, we configure the storage options for Multer:
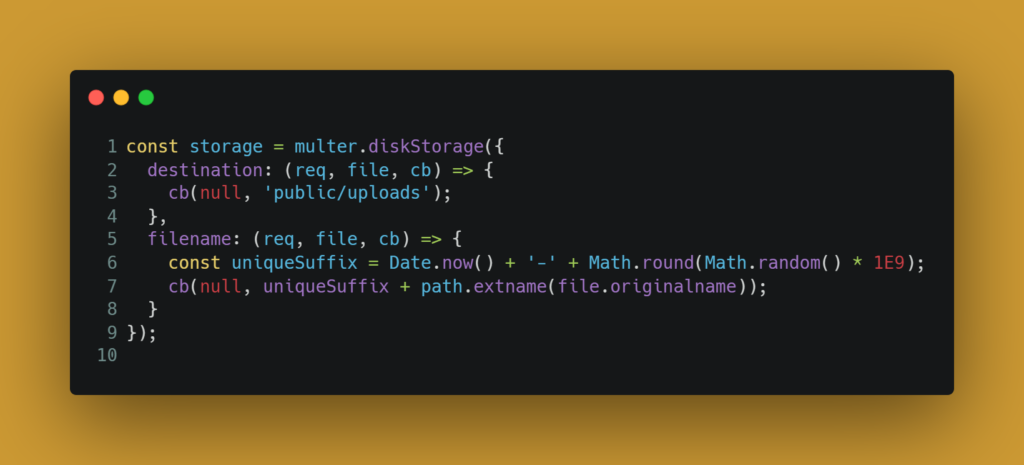
- destination: This function sets the destination directory for the uploaded files. Here, we specify ‘public/uploads’.
- filename: This function sets the filename for the uploaded files. We use a combination of the current timestamp and a random number to ensure each file has a UNIQUE NAME. We also preserve the original file extension using path.extname(file.originalname).
Configuring Multer Upload Settings
Now, we configure Multer with storage options and file validation:
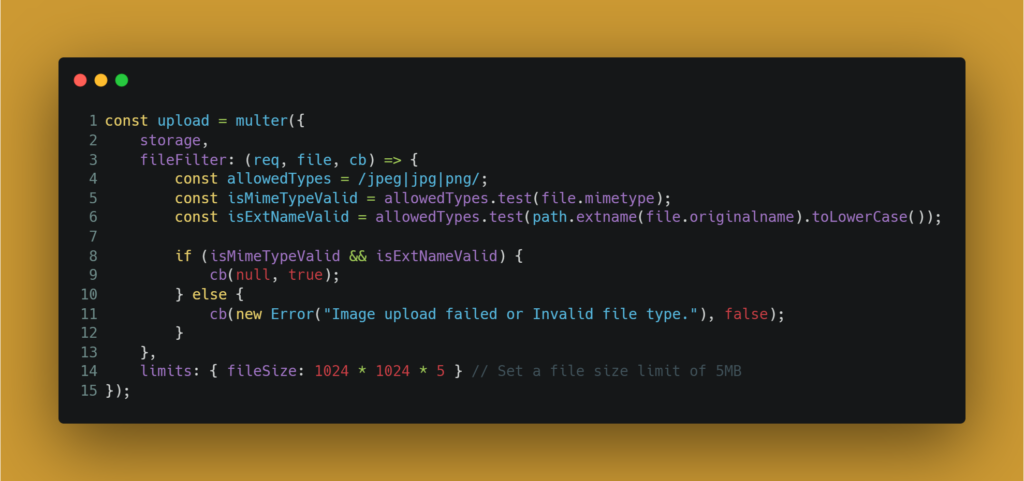
upload is configured using multer({}), where we pass our storage configuration and define additional settings:
- fileFilter: This function validates the file type. We allow only JPEG, JPG, and PNG files by checking the MIME type and file extension.
- limits: Sets a maximum file size limit of 5MB to prevent excessively large uploads.
If you are interested in the full project, you can check it out on my GitHub repository.
It’s got everything we’ve discussed here and more. Don’t forget to star the repo if you find it useful!
Handling File Upload
Finally, we define a function to handle the file upload and export it:
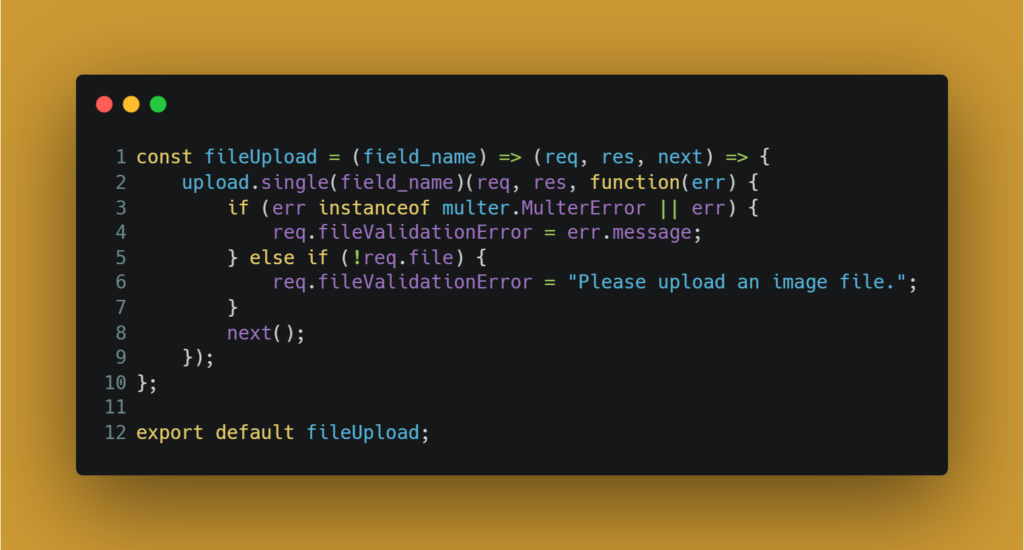
- fileUpload: This is a higher-order function that takes the field name (the name attribute of the file input in our form) and returns a middleware function.
- upload.single(field_name): This middleware handles a single file upload for the specified field.
- Error Handling: We check for errors related to Multer and file validation. If there is an error, we set req.fileValidationError to the error message. If no file is uploaded, we set a specific validation error message.
And there you have it!
By following these steps, you can set up Multer to handle image uploads in your Express app.
This setup ensures that your images are saved with unique filenames, validated for type and size, and handled securely.
Isn’t it great to see how it all comes together?
Let’s keep this momentum going! 🚀
Validating Form Fields
To ensure that the rest of the form fields are validated properly, we’ll use express-validator. This package helps in validating and sanitizing user input.
Let’s create a validationMiddleware.js file to handle the validation:
import { body } from "express-validator";

export const add_item_validation = [
  body("name")
    .notEmpty()
    .withMessage("Product name is required!")
    .trim()
    .escape(),
  body("description")
    .notEmpty()
    .withMessage("Product description is required!")
    .trim()
    .escape(),
  body("category")
    .notEmpty()
    .withMessage("Choose product category!")
    .trim()
    .escape(),
  body("price")
    .notEmpty()
    .withMessage("Product price is required!")
    .trim()
    .escape(),
  body("number_in_stock")
    .notEmpty()
    .withMessage("Number of products in stock is required!")
    .trim()
    .escape(),
];
Explanation of Validation Rules
Let’s break down the validation rules to see what’s happening:
- Importing “body”: We import the body function from express-validator which allows us to validate and sanitize the fields in the request body.
- Validation Array: We create an array of validation chains called add_item_validation.
Field-Specific Validation
- Name Validation:
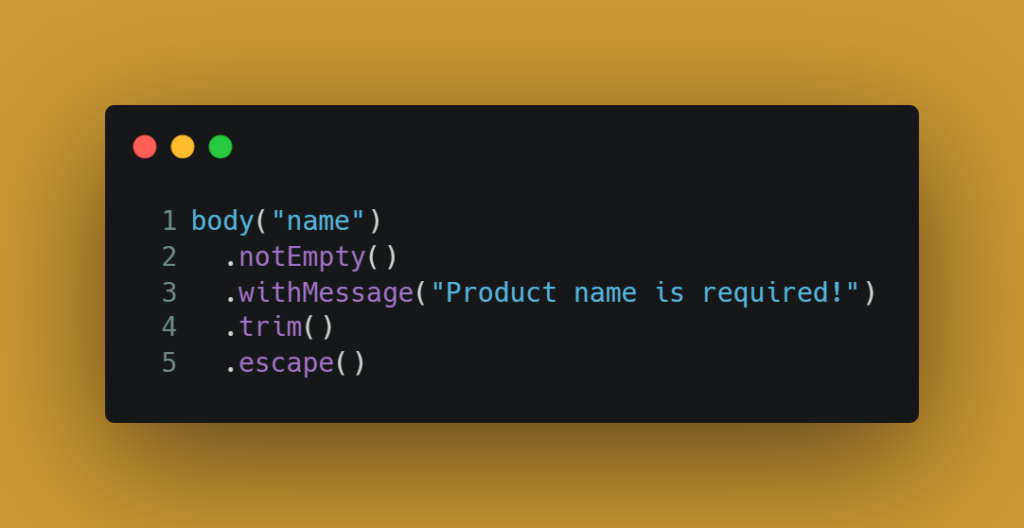
- notEmpty(): Ensures that the name field is not empty.
- withMessage(): Customizes the error message.
- trim(): Removes whitespace from both ends of the string.
- escape(): Replaces <, >, &, ‘, and ” with their corresponding HTML entities to prevent HTML injection.
Note: We do the same for other form inputs.
This ensures that our form submissions are both safe and correctly formatted, preventing issues such as HTML injection and empty fields.
Kudos to reaching this far!
Did you encounter any challenges or find a better way to do something?
Don’t forget to use the comment section so we can learn from each other. Yeah!
Putting Everything Together
Let’s create a controller to build the logic itself.
We are creating productController.js as follows:
import asyncHandler from "express-async-handler";
import fs from "fs";
import { validationResult } from "express-validator";
import cloudinary from "cloudinary";
import Category from "../models/category.js";
import fileUpload from "../middleware/multerMiddleware.js";
import { add_item_validation } from "../middleware/validationMiddleware.js";
import Item from "../models/items.js";

// Controller for item creation
export const item_create_post = [
  fileUpload("avatar"), // Handle file upload
  ...add_item_validation, // Add validation middlewares
  asyncHandler(async (req, res, next) => {
    const errors = validationResult(req); // Get validation results
    const product_info = { // Collect product info from request
      name: req.body.name,
      description: req.body.description,
      category: req.body.category,
      price: req.body.price,
      number_in_stock: req.body.number_in_stock,
    };

    const errorsArray = errors.array(); // Convert validation errors to an array

    if (req.fileValidationError) { // Check if there was a file validation error
      errorsArray.push({ msg: req.fileValidationError });
    }

    const allCategory = await Category.find({}, "name").exec(); // Fetch all categories

    for (const category of allCategory) { // Mark the selected category
      if (product_info.category === category._id.toString()) {
        category.selected = true;
      }
    }

    if (errorsArray.length > 0) { // Handle validation errors
      if (req.file) {
        await fs.promises.unlink(req.file.path); // Delete uploaded file
      }
      return res.render("item_form", { // Render form with errors
        title: "Add New Product",
        product_info,
        category: allCategory,
        update: false,
        errors: errorsArray,
      });
    }

    if (req.file) { // If file uploaded, upload to Cloudinary
      try {
        const response = await cloudinary.v2.uploader.upload(req.file.path, {
          folder: "Inventory_web_app",
        });
        await fs.promises.unlink(req.file.path); // Delete local file
        product_info.product_public_id = response.public_id;
        product_info.product_secure_url = response.secure_url;
      } catch (uploadError) {
        await fs.promises.unlink(req.file.path);
        return res.render("item_form", {
          title: "Add New Product",
          product_info,
          category: allCategory,
          update: false,
          errors: [{ msg: "Image upload failed. Try again!" }],
        });
      }
    }

    try {
      const product = new Item(product_info); // Create and save product
      await product.save();
      res.redirect(product.url); // Redirect to product URL
    } catch (dbError) { // Handle database errors
      if (product_info.product_public_id) {
        await cloudinary.v2.uploader.destroy(product_info.product_public_id);
      }
      return res.render("item_form", {
        title: "Add New Product",
        product_info,
        category: allCategory,
        update: false,
        errors: [{ msg: "Failed to create category. Try again!" }],
      });
    }
  }),
];
Wooow! That’s a lot of code for the controller.
Worry not, let’s break it down:
What’s Happening Here?
We start by calling our fileUpload middleware and passing the name of the file field to it. This middleware processes the file and throws any errors if they occur.
Next, we spread the add_item_validation middleware. This way, each validation rule is an individual element in our controller instead of an array of arrays.
We then wrap our callback function with asyncHandler from express-async-handler to handle any errors in our callback function.
Remember, this is an asynchronous event.
We’re making requests to the database and waiting for a response before proceeding to the next activity in the call stack.
For a guide on asynchronous events, check out W3Schools.
Feel free to share your observations in the comment section so we can learn from your point of view too.
Let’s go there!
Order Matters!
The order of the file upload and validation rules is crucial. The file upload should come first, followed by the validation rules.
This ensures the rest of the form input is ready when validation happens.
In our callback, we capture any errors using validationResult(req) from express-validator and store them in an array.
Handling Categories
Remember how we’re showing the categories in our HTML form?
Right, you remember that.
We fetch all the categories from our database, pulling out only the names. Then we loop through the categories to show the selected one in case of any error during form processing.
For a peek at different types of loops in JavaScript and when to use them, check my previous post – Confused About JavaScript Loops? We Can Help!
Don’t forget to leave your review or share better ways you think work best.
Saving Images to Cloudinary
Like you might have asked, “Is this guy really saving the images in his database like that?“
Smiles!
Nope! My senses are still active, and I wouldn’t make such a costly mistake.
So, what am I doing then?
Remember Cloudinary?
We talked about this earlier. It’s indeed a lifesaver here.
We save the image to Cloudinary and, if successful, delete it from the public/upload folder where we initially saved it.
We then save a reference to the image in our database.
Sounds awesome, right?
You might also wonder how we’re removing the image from our local file system.
We use the fs.unlink() method. Check out GeeksforGeeks for a prep on what it is all about. We add a promise to it, making it fs.promises.unlink() because it returns a promise.
After uploading to Cloudinary, we save the path in our database.
Wondering how our database is structured?
Here’s an overview of our database:

And that’s it! You’ve got the controller logic in place.
Keep the comments and questions coming, and let’s learn together.
Conclusion
Wow, you made it!
Kudos for sticking through this comprehensive guide on building a product inventory system with image uploads using Express, Multer, and Cloudinary.
You’ve navigated through setting up the front-end form, configuring Multer for file uploads, validating form fields with express-validator, and saving data to a MongoDB database.
By now, you should have a solid understanding of how to handle file uploads, validate user input, and manage relationships in a database.
These skills are crucial for any developer looking to build robust web applications.
But don’t stop here! The best way to reinforce what you’ve learned is by applying it.
Let’s Hear from You!
What challenges did you face while following this guide? Did you find any better ways to implement certain features? We’d love to hear your thoughts and experiences. Drop a comment below, and let’s learn from each other!
Remember, every expert was once a beginner. Keep coding, keep exploring, and most importantly, have fun with it!
Let’s Connect:
If you found this guide helpful, share it with your fellow developers. Follow me for more tips on web development.
And if you have any questions or need further clarification on any part of this project, don’t hesitate to reach out.
Check Out My Other Posts
Thanks for following along! If you found this guide helpful, you might also enjoy some of my other posts:
- Build Powerful Web Forms with Node.js (Step-by-Step Guide)
- Confused About JavaScript Loops? We Can Help!
- The CRUD Trap: Why Most Web Apps Fail Before They Even Start (And How to Avoid It)
Feel free to leave comments, share your thoughts, or ask any questions.
Happy coding!